|
How to Use Label Dispensers
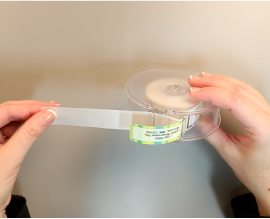
Elegant Plastic Dispenser
If you're using clear labels with this dispenser, you may need to gently compress the loop as you pull the tape to help the label pop up, or start the label with your fingernail.
Step One
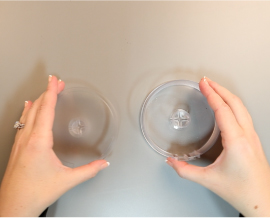
There are two parts to the dispenser: a cup and a lid. Place the cup on the table in front of you and rotate it until the holes are on the side closest to you
Step Two
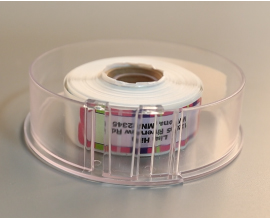
Remove the first few labels off the roll so you are left with the paper backing. Then place the roll into the cup so that the text on the labels is upside-down.
Step Three
Weave the label tape from the roll through the thin slit to the right of the large two holes.
Step Four
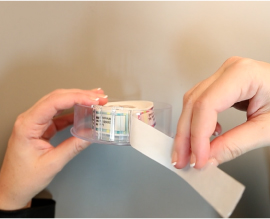
Then push it back through the middle hole and out again through the left slit.
Step Five
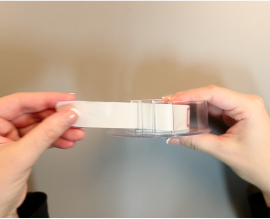
Finally, place the lid on dispenser. As you pull the tape through, the labels should pop up. Your labels are now ready to use!
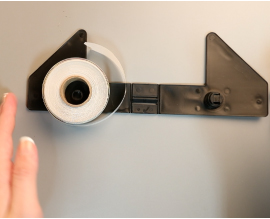
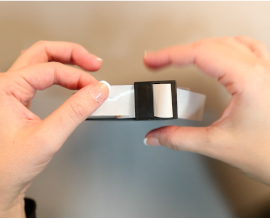
Kannon Dispenser
Step One
Remove the first few labels on the roll. Open the dispenser and place the roll of labels on the center peg.
Step Two
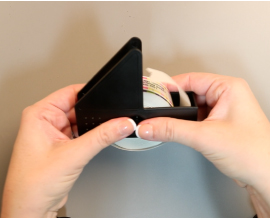
Snap the dispenser shut, press firmly until it clicks.
Step Three
Thread the tail of the roll of labels under the first slit.
Step Four
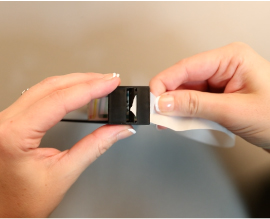
Weave the label backing down and through slit.
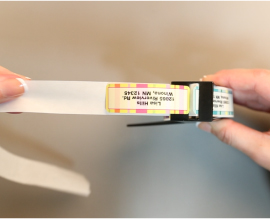
Step Five
Pull the label paper to separate the label from backing. Your labels are now ready to use!